After your instance has been successfully launched, you can manage it from the Instances page.
- Navigate to: Public Cloud → Instances.
Information
Before viewing your instance, make sure you have selected the correct Project and Availability Zone (AZ), as only resources deployed within the currently selected project and AZ are displayed.
- Select the instances you want to manage, from the list.
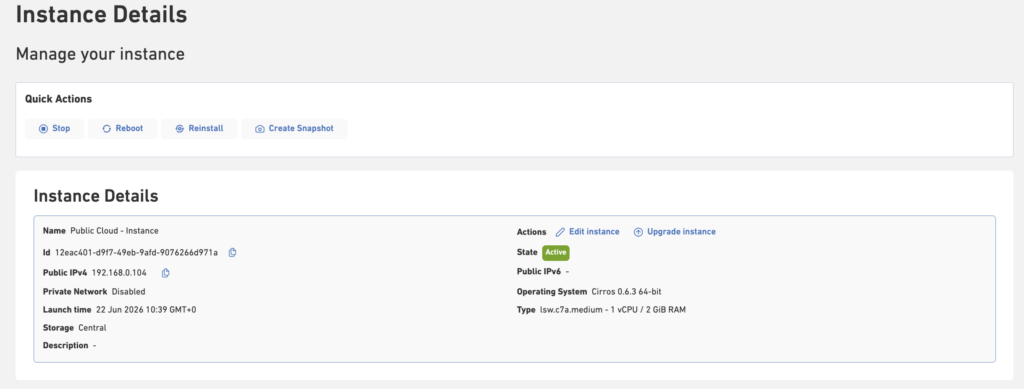
- This will open the Instance Details page, where you can view information about your instance and perform various management actions.
Available Actions
Depending on the current state of your instance, you can perform the following actions:
| Action | Description |
|---|---|
| Start | Power on a stopped instance. |
| Stop | Stop the instance. |
| Reboot | Restart the instance. |
| Reinstall | Reinstall the operating system using the selected image. |
| Upgrade Instance | Increase the instance’s resources, such as instance type or storage size, that is assigned to an instance. |
| Manage Volumes | Attach or detach additional storage volumes. |
| Manage Public IPs | Assign or remove IPv4 and IPv6 addresses. |
| Terminate Instance | Permanently remove the instance and its associated resources, depending on your storage configuration. |
| Snapshots | Create a snapshot of your instance volume to capture its current state. Snapshots can be used later to restore data or launch new instances from the saved state. |
Additional Management Options
The Instance Details page also allows you to manage related resources:
| Resource | Description |
|---|---|
| Security Groups | Attach or detach Security Groups to control inbound and outbound network traffic. |
| Volumes | Attach additional storage volumes or manage existing ones. |
| Public IPs | Associate or disassociate IPv4 and IPv6 addresses with your instance. |
| Metrics | View performance metrics, such as CPU, memory, disk, and network utilization, to monitor the health and performance of your instance. |