A snapshot allows you to create a secure and efficient restore point, enabling you to easily undo any modifications made to your disk at a specific moment in time.
However, it is important to note that a snapshot is not a substitute for a backup, and both should be utilized in conjunction to ensure comprehensive data protection for your instance.
How to Create a Snapshot of an Instance
- Go to your Leaseweb Customer Portal account.
- From the menu, select Public Cloud.
- Select Instances and choose your instance from the list.
- In the section Quick Actions click on Create Snapshot.
- Provide a name and select a volume for which you want to create a snapshot.
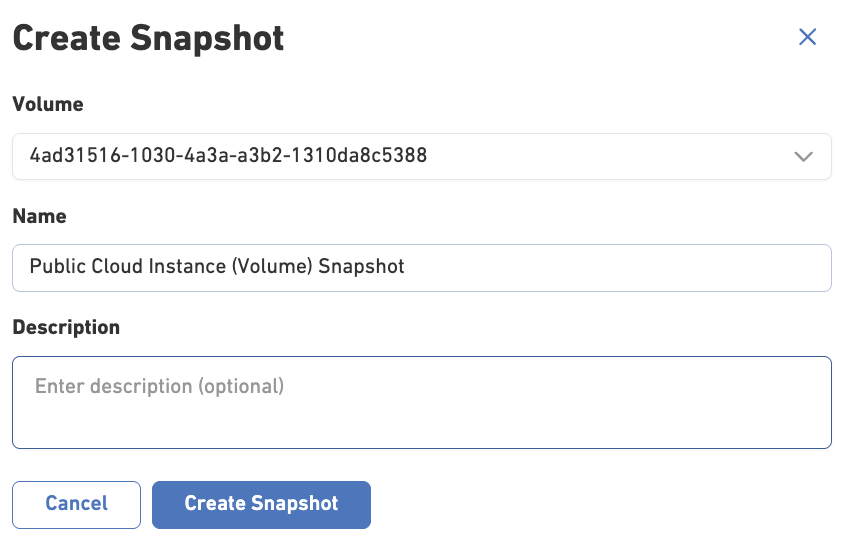
- Click again Create Snapshot.
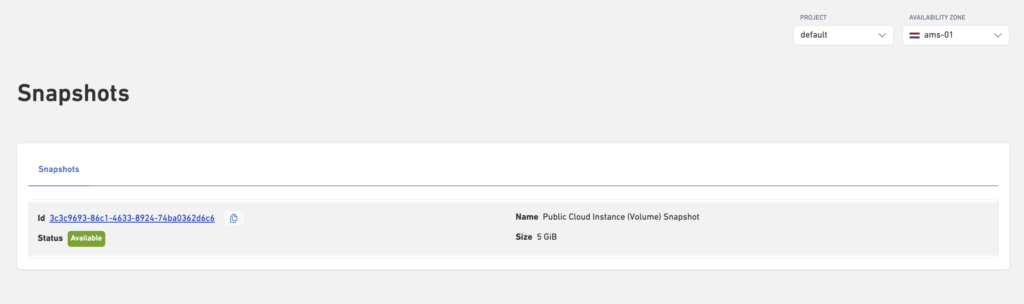
- The snapshot details are added and displayed in the Snapshot sections on the left menu.
How to Launch an Instance from a Snapshot
You can use an existing snapshot to create a new instance with the same operating system, configuration, and data captured at the time the snapshot was created.
- In the Customer Portal, go to Public Cloud.
- Click Launch Instance.
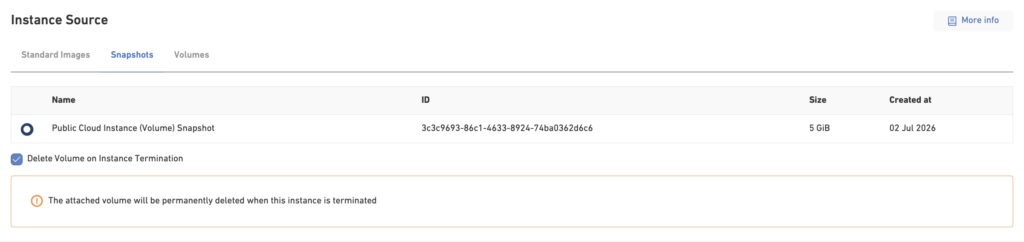
- Under Source, select Snapshot.
- Choose the snapshot you want to use.
- Configure the remaining instance settings, such as the flavor, network, security groups, SSH key, and instance name.
- Review your configuration and click Launch Instance.
- A new instance will be created using the selected snapshot.
- The original instance and snapshot remain unchanged.