Overview
To assign an IPv6 address to an instance, your instance must be connected to a network that has an IPv6-enabled subnet and is attached to a router.
If your instance was created before IPv6 was enabled on the network, you may need to reboot the instance for it to obtain an IPv6 address.
Prerequisites
Before your instance can receive an IPv6 address, ensure the following:
- A network has been created.
- The network includes an IPv6 subnet.
- A router is attached to the network.
- Your instance is connected to this network.
Scenario 1: Creating a New Instance with IPv6
If you are launching a new instance:
- Create a network.
- Create an IPv6 subnet on the network.
- Attach the network to a router.
- Launch the instance and select the IPv6-enabled network.
The instance will automatically receive an IPv6 address during provisioning.
Scenario 2: Enabling IPv6 on an Existing Network
If your instance already exists and you later add an IPv6 subnet to its network:
- Add an IPv6 subnet to the existing network.
- Ensure the network is connected to a router.
- Reboot the instance.
After the reboot, the instance will request network configuration again and should receive an IPv6 address.
Verify the IPv6 Address
After the instance has started (or restarted):
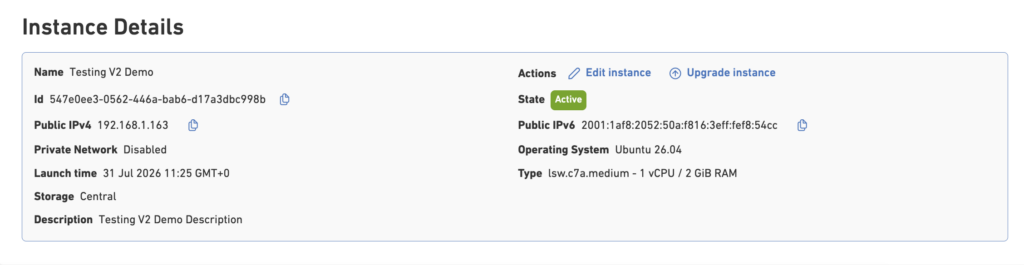
- Open the Instance Details page.
- Check the Network section.
If configured correctly, an IPv6 address will be displayed alongside the instance’s IPv4 address (if applicable).