A new instance can be launched through the Leaseweb Customer Portal or via the OpenStack API.
If you launch an instance of a type covered by a Savings Plan, it will be included under your Savings Plan and will not incur additional compute charges, provided you do not exceed the number of instances covered by the plan.
How to Launch a Public Cloud Instance from the Customer Portal
- Go to your Leaseweb Customer Portal account.
- From the menu, select Public Cloud and click Launch Instance.
- Configure your instance on the Launch page.
Prerequisites
- An SSH key created to securely connect to your instance.
- A Network and Router configured for your project.
How to Configure a New Instance
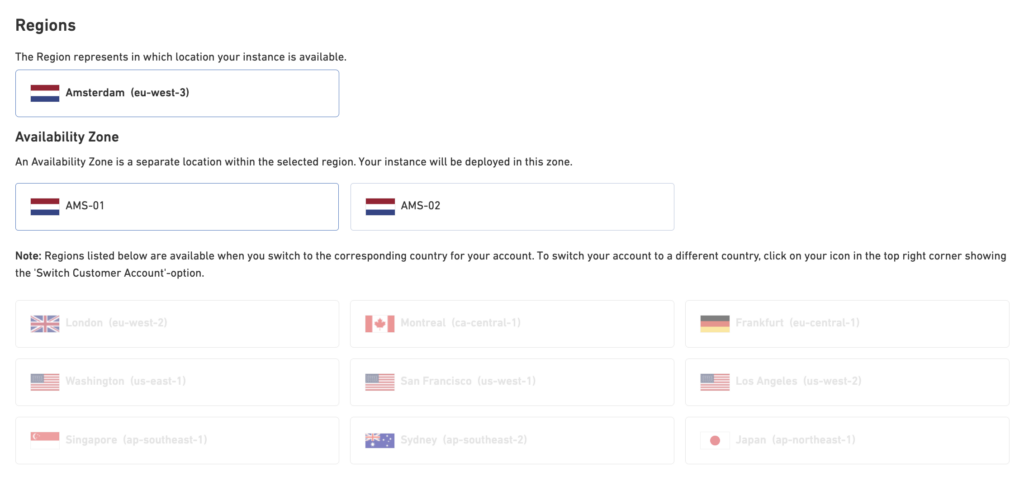
- Select a Region
- By default, the region you are currently logged in to will be selected.
- In order to switch to a different region, you are required to switch your account to the corresponding sales organization. You can do this by clicking on your profile icon in the top right corner.
- Select the Availability Zone
- Choose the Availability Zone where you want to launch your instance.
- Select either eu-west-3-az1 or eu-west-3-az2.
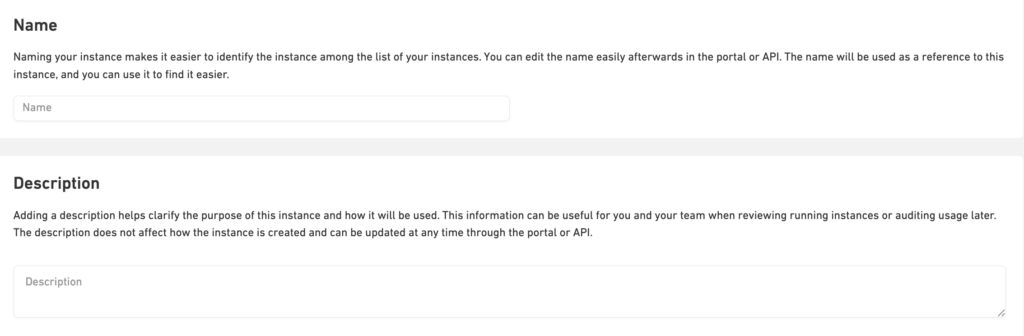
- Add the Instance Name and Description
- Enter a name for your instance and, optionally, add a description to help identify its purpose.
- Choose an Instance Source
- If you are just getting started, simply select the operating system image and its version for your instance.
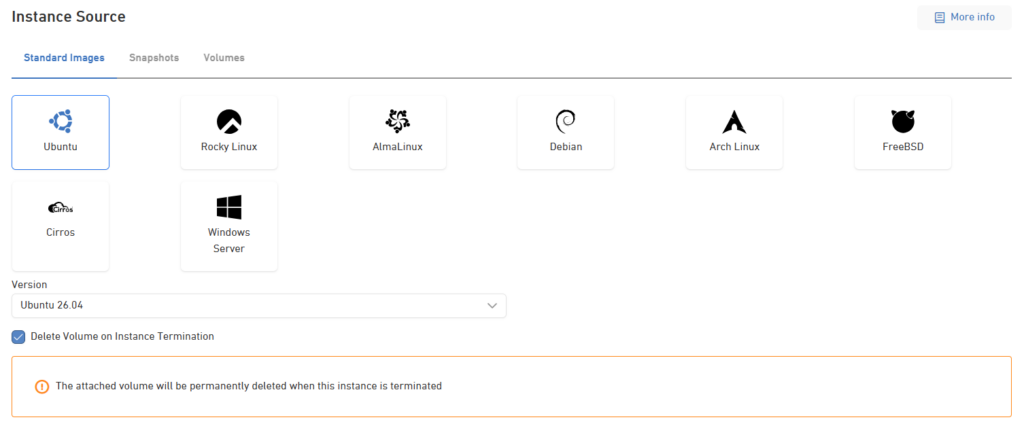
- By default, the storage volume is deleted when the instance is terminated.
- To keep the volume after deleting the instance, uncheck the Delete Volume on Instance Termination option.
- You can also launch an instance from a Snapshot or Volume if available / set up.
- Configure the Storage Volume
- Configure the volume size and type for your instance.
- By default, a minimum of 5 GB is required to install the operating system image.
- You can attach additional storage volumes to the instance later if needed.

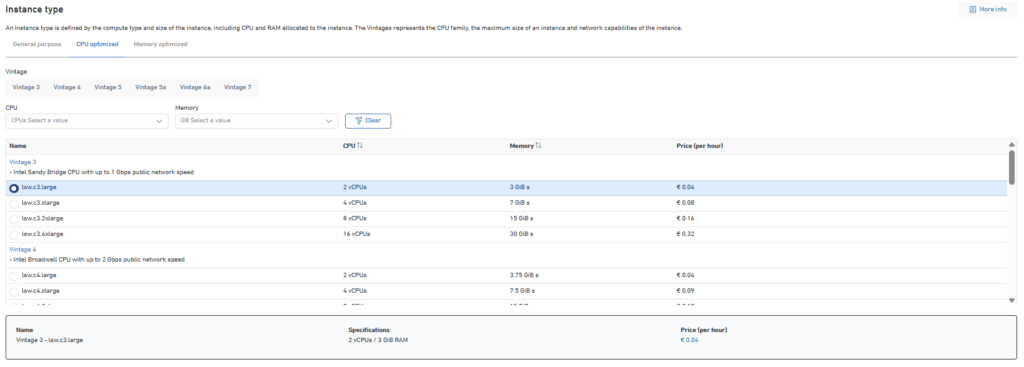
- Select Instance Type
- Select the vintage and instance type according to your required compute type and size of the instance, including CPU and RAM allocated to the instance.
- (Optional) Add User data
- User data allows you to automatically install packages or run scripts when the instance starts for the first time.
- This step is optional.

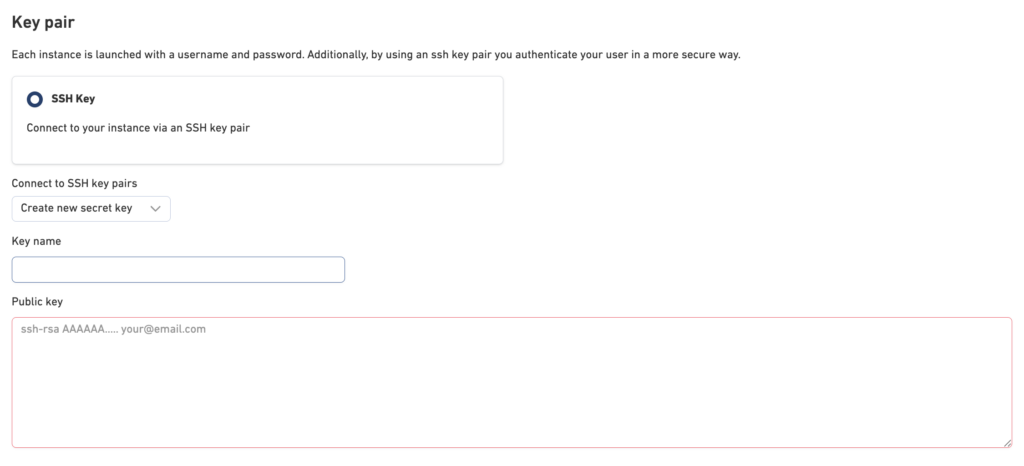
- Select a Key Pair
- A key pair provides a secure way to connect to your instance. Select an existing key pair or create a new one.
- Select the Network
- Select a network for your instance. If you have not created one yet, you can create it directly from the networks page on the customer portal.

- (Optional) Add Security Groups
- Adding Security Groups is optional and allows you to control which network traffic can access your instance.

Security group rules required for correct instance provisioning
The operating system images provided by Leaseweb require the following traffic to be allowed:
– Egress UDP port 67 to 0.0.0.0/0 (DHCP server)
– Egress TCP port 80 to 169.254.169.254 (Metadata server)
Make sure this traffic is allowed if your Security Group selectively allows egress traffic, and you use operating system images provided by Leaseweb.
- Set the Amount of Instances
Specify the number of instances you want to launch. You can create one, or multiple instances, in a single request.
The maximum number of instances you can launch at once is 10.

- Review the Summary
- Click the Launch button when you are ready to create your instance.
- A summary will display the selected instance specifications and the estimated costs before deployment. Review and continue with the launch.