1 min read
To make your instance accessible from the internet, you need to assign a Public IP address, IPv4 or IPv6.
Before assigning a Public IP, you must first create and configure the required networking components.
Prerequisites
Before you can assign a Public IP, ensure the following resources exist:
- A Network
- A Router
- A Router Interface connecting the Router to your Subnet
- An Instance connected to the Network
Configuration Flow
The recommended setup flow is:
- Create a Network and Subnet.
- Create a Router.
- Add a Router Interface by connecting the Router to your Subnet.
- Launch an Instance and attach it to the Network.
- Allocate and associate a Public IP to the Instance.
Only after the Instance is connected to a Network that has a Router and Router Interface configured can a Public IP be assigned.
Step 1: Create a Network
- Navigate to: Public Cloud → Networks.
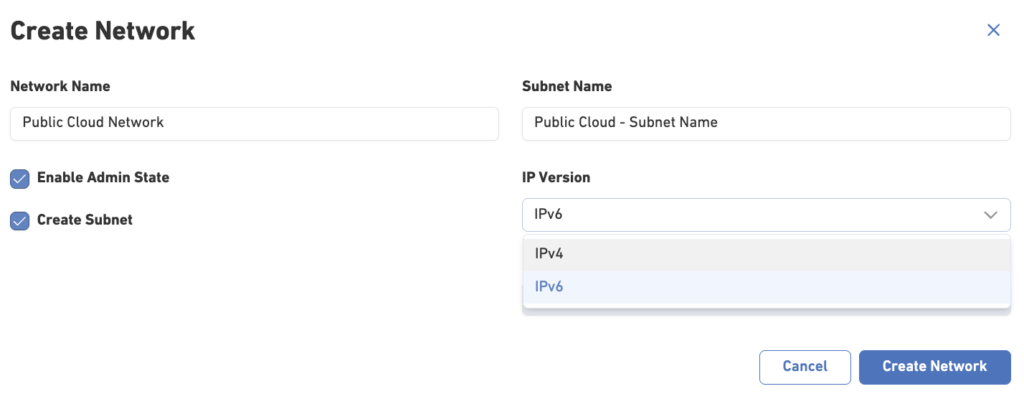
- Create a Network and Subnet that will be used by your instance.
- When creating a subnet, you can choose either IPv4 or IPv6, depending on your networking requirements.
You are not limited with a single IP version (IPv4 or IPv6) – you can select IPv4 here and add an IPv6 subnet later once the network has been created.
Step 2: Create a Router
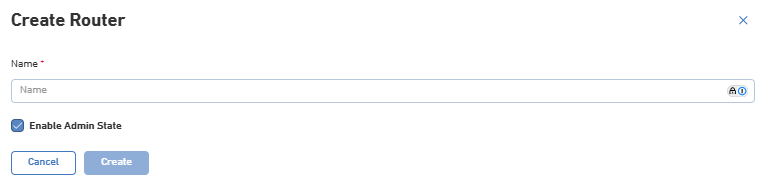
- Navigate to: Public Cloud → Networks → Routers.
- Open the Routers tab and create a new Router.
Step 3: Add a Router Interface
After creating the Router:
- Open the Router details.
- Select Add Interface.
- Choose the Subnet created in the previous step.
- Specify the Router IP address (optionally)
- Confirm the configuration.
This allows traffic from your Network to be routed externally.
Step 4: Launch an Instance
- Create a new Instance and attach it to the Network created earlier.
- The Instance will receive a private IP address from the selected Subnet.
Step 5: Assign a Public IP to a Project
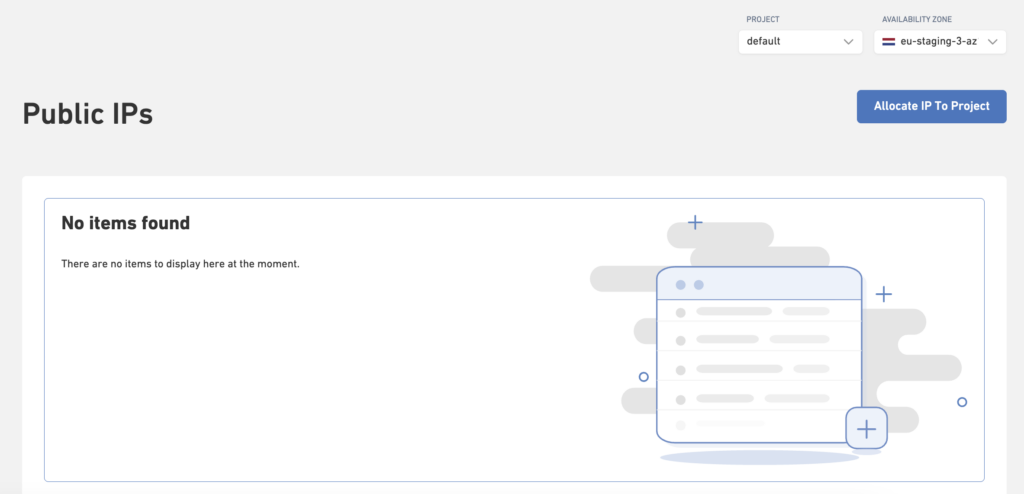
- Go to Public IPs from the Public Cloud menu
- Click on Allocat IP to Project
- Add description (optionally)
- Click on Allocate
After completing these steps, the Public IP address will be available and can be assigned to an instance from the instance details page.
Step 6: Allocate IP Address from the Instance Details Page
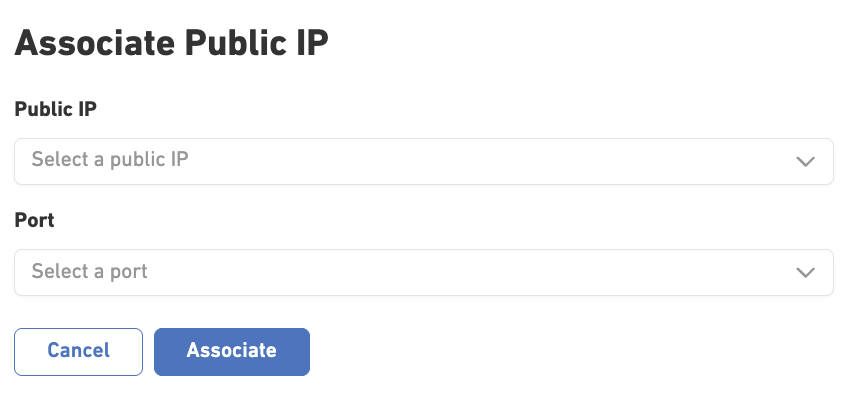
- Open the Instance details page.
- Navigate to the Public IP section.
- Select Assign Public IP.
- Select IPv4
- Confirm the assignment.
Verify Connectivity
After the Public IP is associated, you can access the Instance from the internet using:
- SSH for Linux instances.
- RDP for Windows instances.
- Applications running on exposed ports.
Important
Ensure that the appropriate Security Group rules are configured to allow inbound traffic.
Important Notes
- Public IPs can only be assigned to Instances connected to a Network with a Router and Router Interface configured.
- Public IPs can be detached and reassigned to other Instances when needed.
- Security Groups control which traffic is allowed to reach the Instance.
- Both IPv4 and IPv6 Public IPs are supported.