This article describes how you can configure your firewall for Private Network and connect them with other services (Dedicated Servers) via Private Network.
Once the firewall is delivered to you by Leaseweb, it has already been added to your existing Private Network and a basic initial configuration was done. This is the starting point of this article.
This article describes a hypothetical setup of a single firewall (Cisco ASA5525) and 2 Dedicated Servers. All this equipment is in different physical racks and connected to each other via Leaseweb Private Network.
It walks you through the steps of getting access to the firewall and to configure it. It also explains how you could configure your Dedicated Servers to place them “virtually” behind the firewall.
Private Network overview page
All your Firewalls and Load Balancers are listed under the Dedicated Network Equipment page in the Customer Portal. In addition to that page, there is also the Dedicated Network Equipment tab on the Private Network page.
This page lists all your Firewalls and Load Balancers that are in your Private Network.
Perform the following steps to get an overview of the Network Equipment that have private network enabled beside other products like Dedicated Servers, Elastic Compute, Cloud Connect etc.
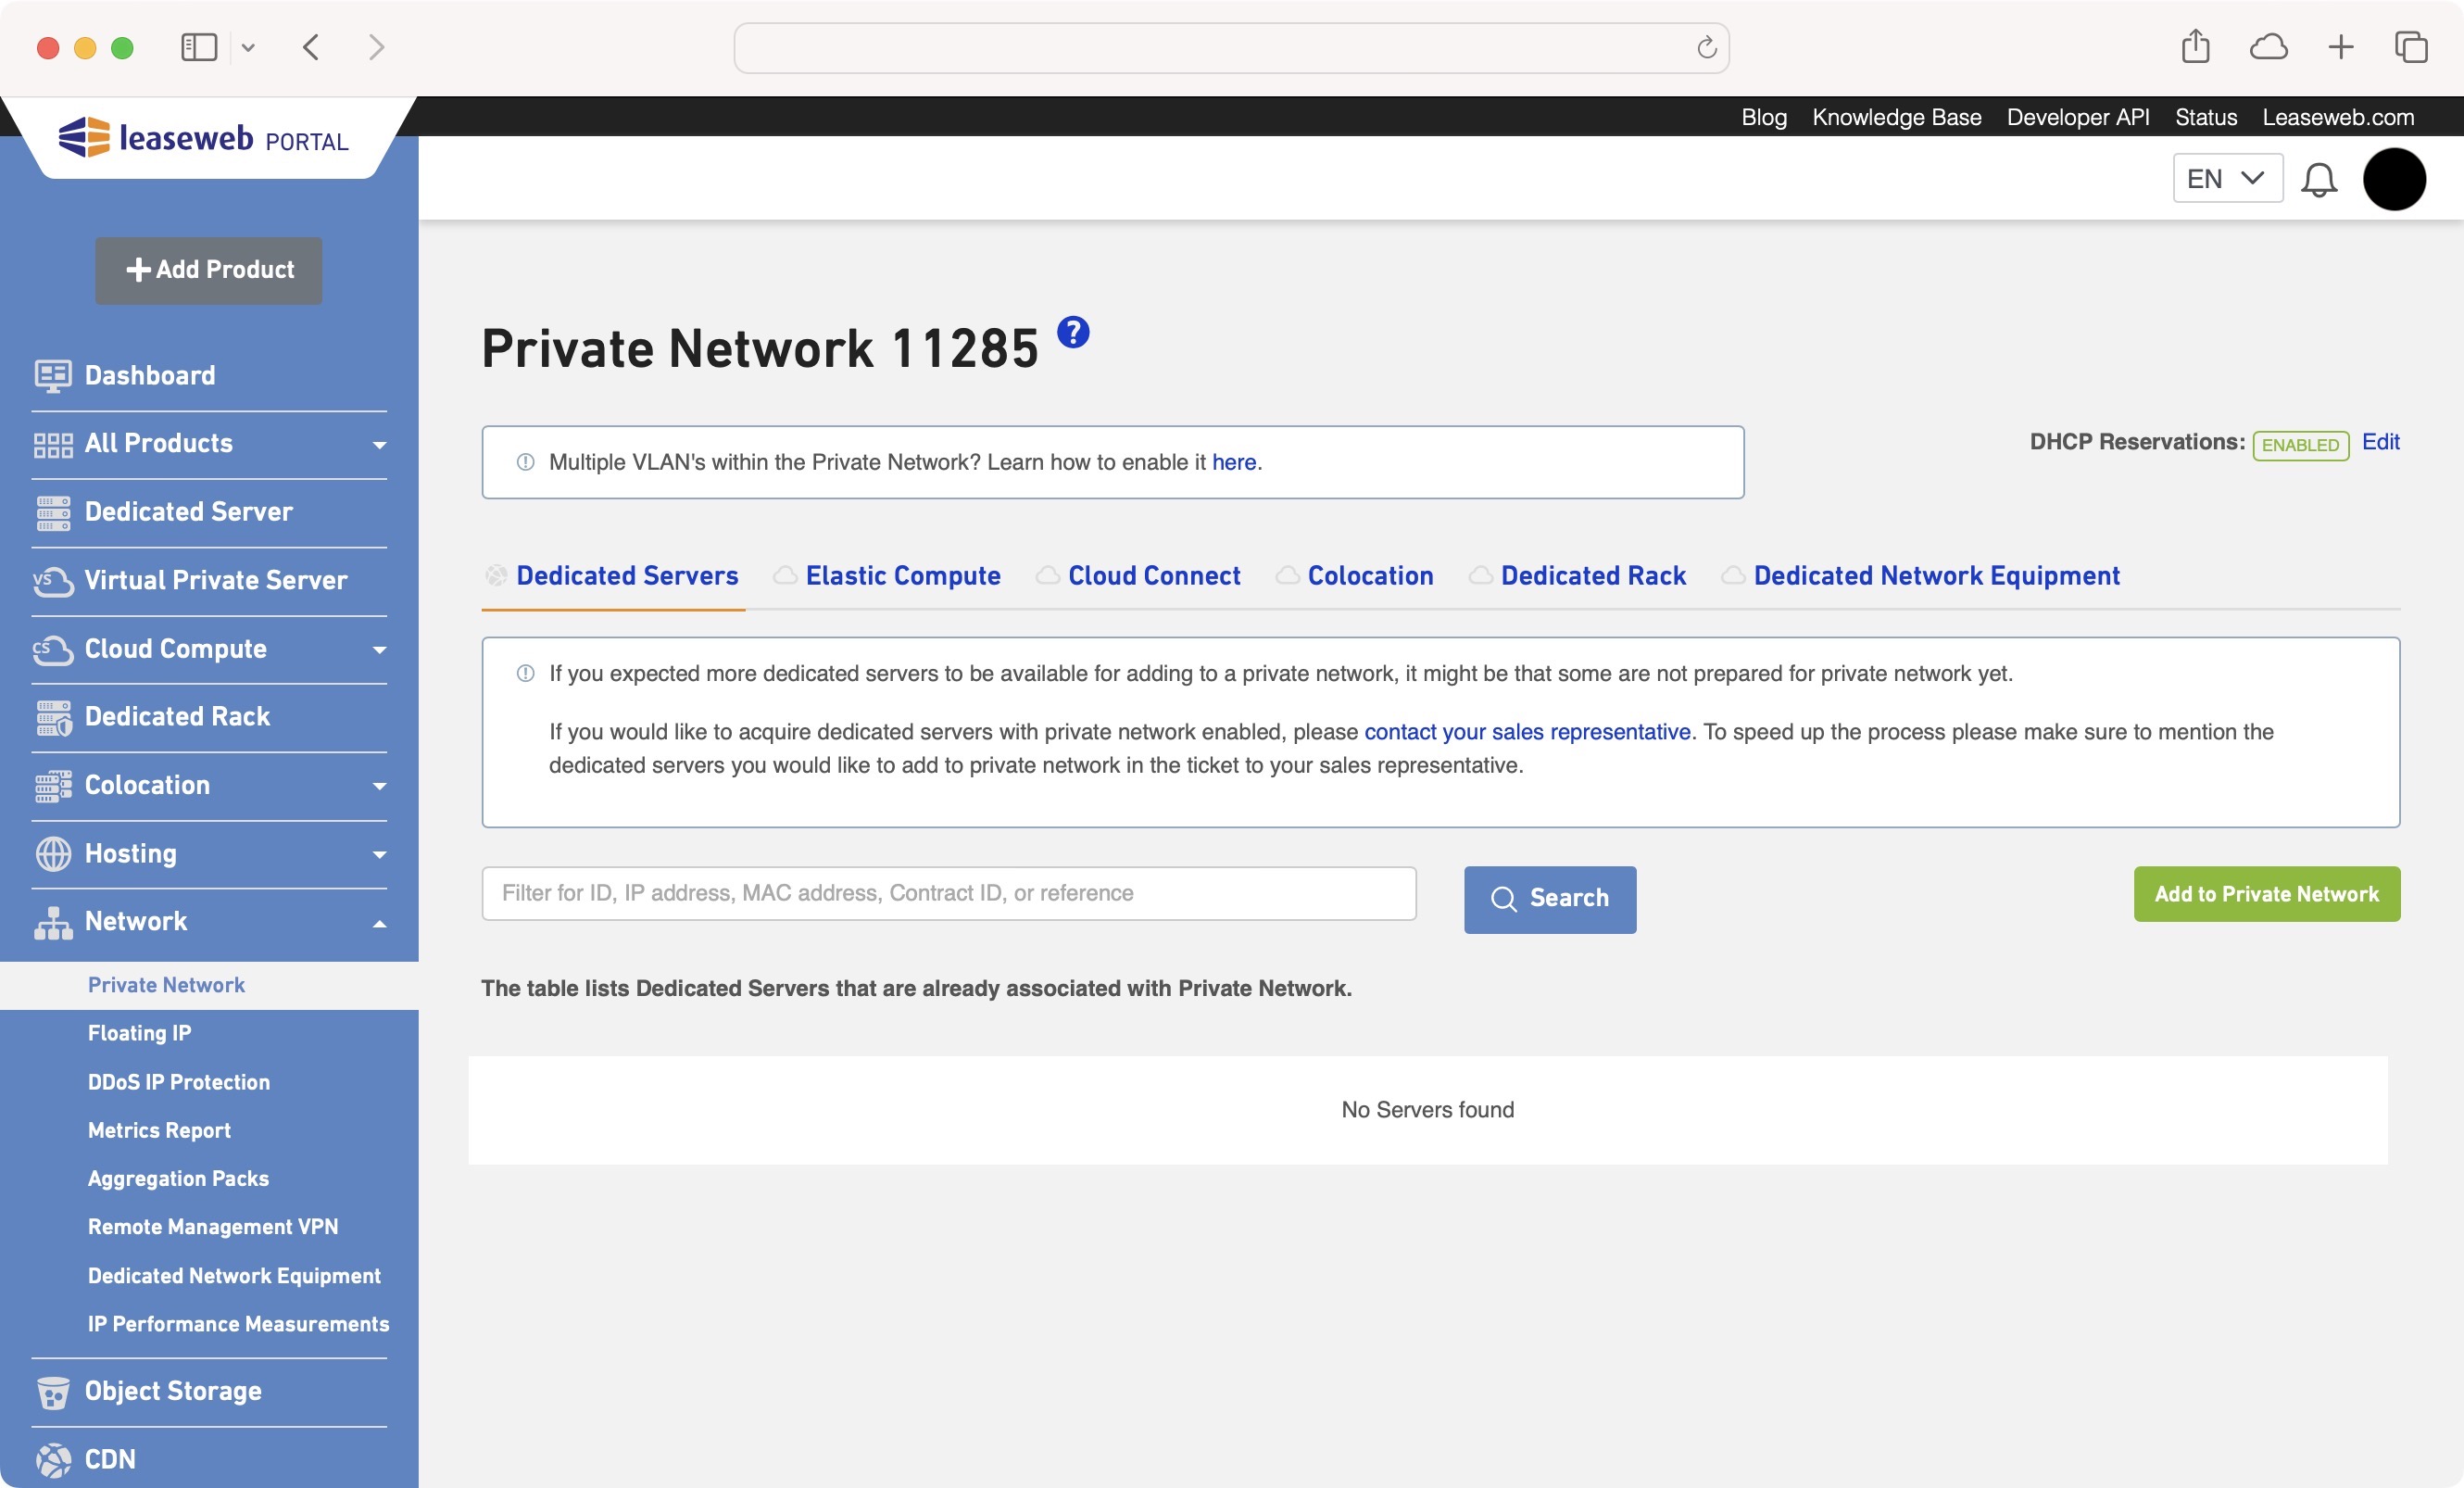
- In the menu bar, under Network, click Private Network.
- The Private Network page displays. Click on the Network Equipment tab.
Enabled Network Equipment
Here you can see the Network Equipment that are added to the Private Network.
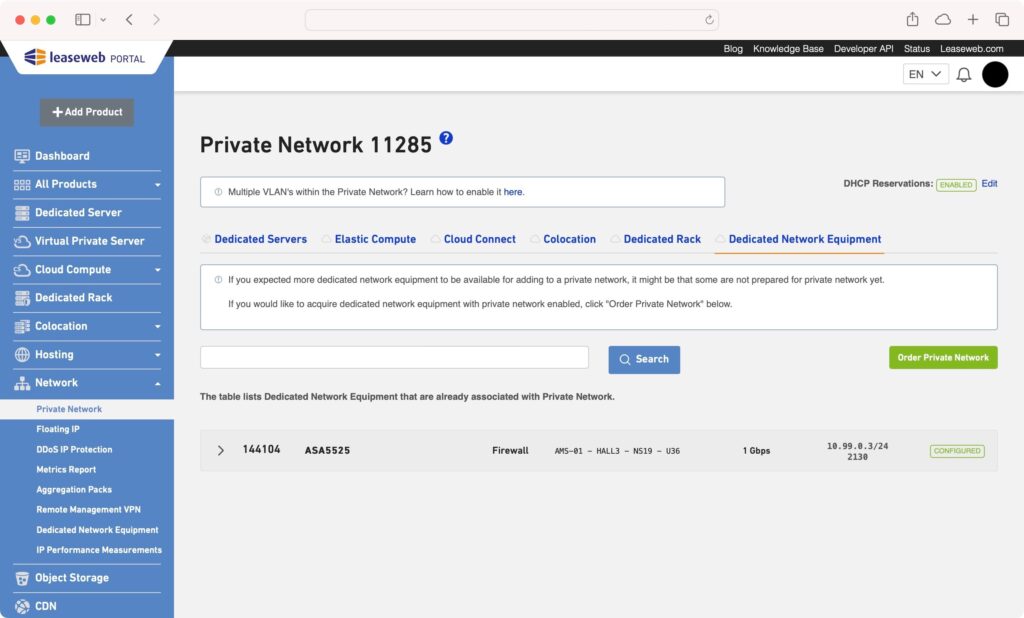
Per network equipment, the following information is available:
| Column name | Description |
|---|---|
| ID | Displays the Network Equipment ID |
| Reference | Displays the customer reference of the server. |
| Location | Displays the datacenter, suite and rack where the network equipment is located. |
| Port speed | Displays the current private network uplink capacity of the network equipment. |
| CIDR/ VLAN | Displays CIDR range of IP addresses associated to the network. The VLAN that the Private Network uses. |
| Status | The status of the network equipment in terms of whether the Private Network is configured or not. |
Note:
- The VLAN ID is informational only. Private Network uses the “Internal” interface of your device. The communication is via untagged Ethernet frames. There is no need to configure this VLAN ID on any of your services.
- A DHCP server will assign a free IP address from the CIDR prefix to each of your Network Equipment. Through the DHCP setting at the top of the page, it is also possible to disable this behavior and use static addressing instead. In this example we will rely on IP Addresses handed out by Leaseweb DHCP server.
- By default, the /27 prefix length provides a maximum of 27 usable addresses. Please contact support if you require a larger Private Network subnet.
See the status of a Private Network
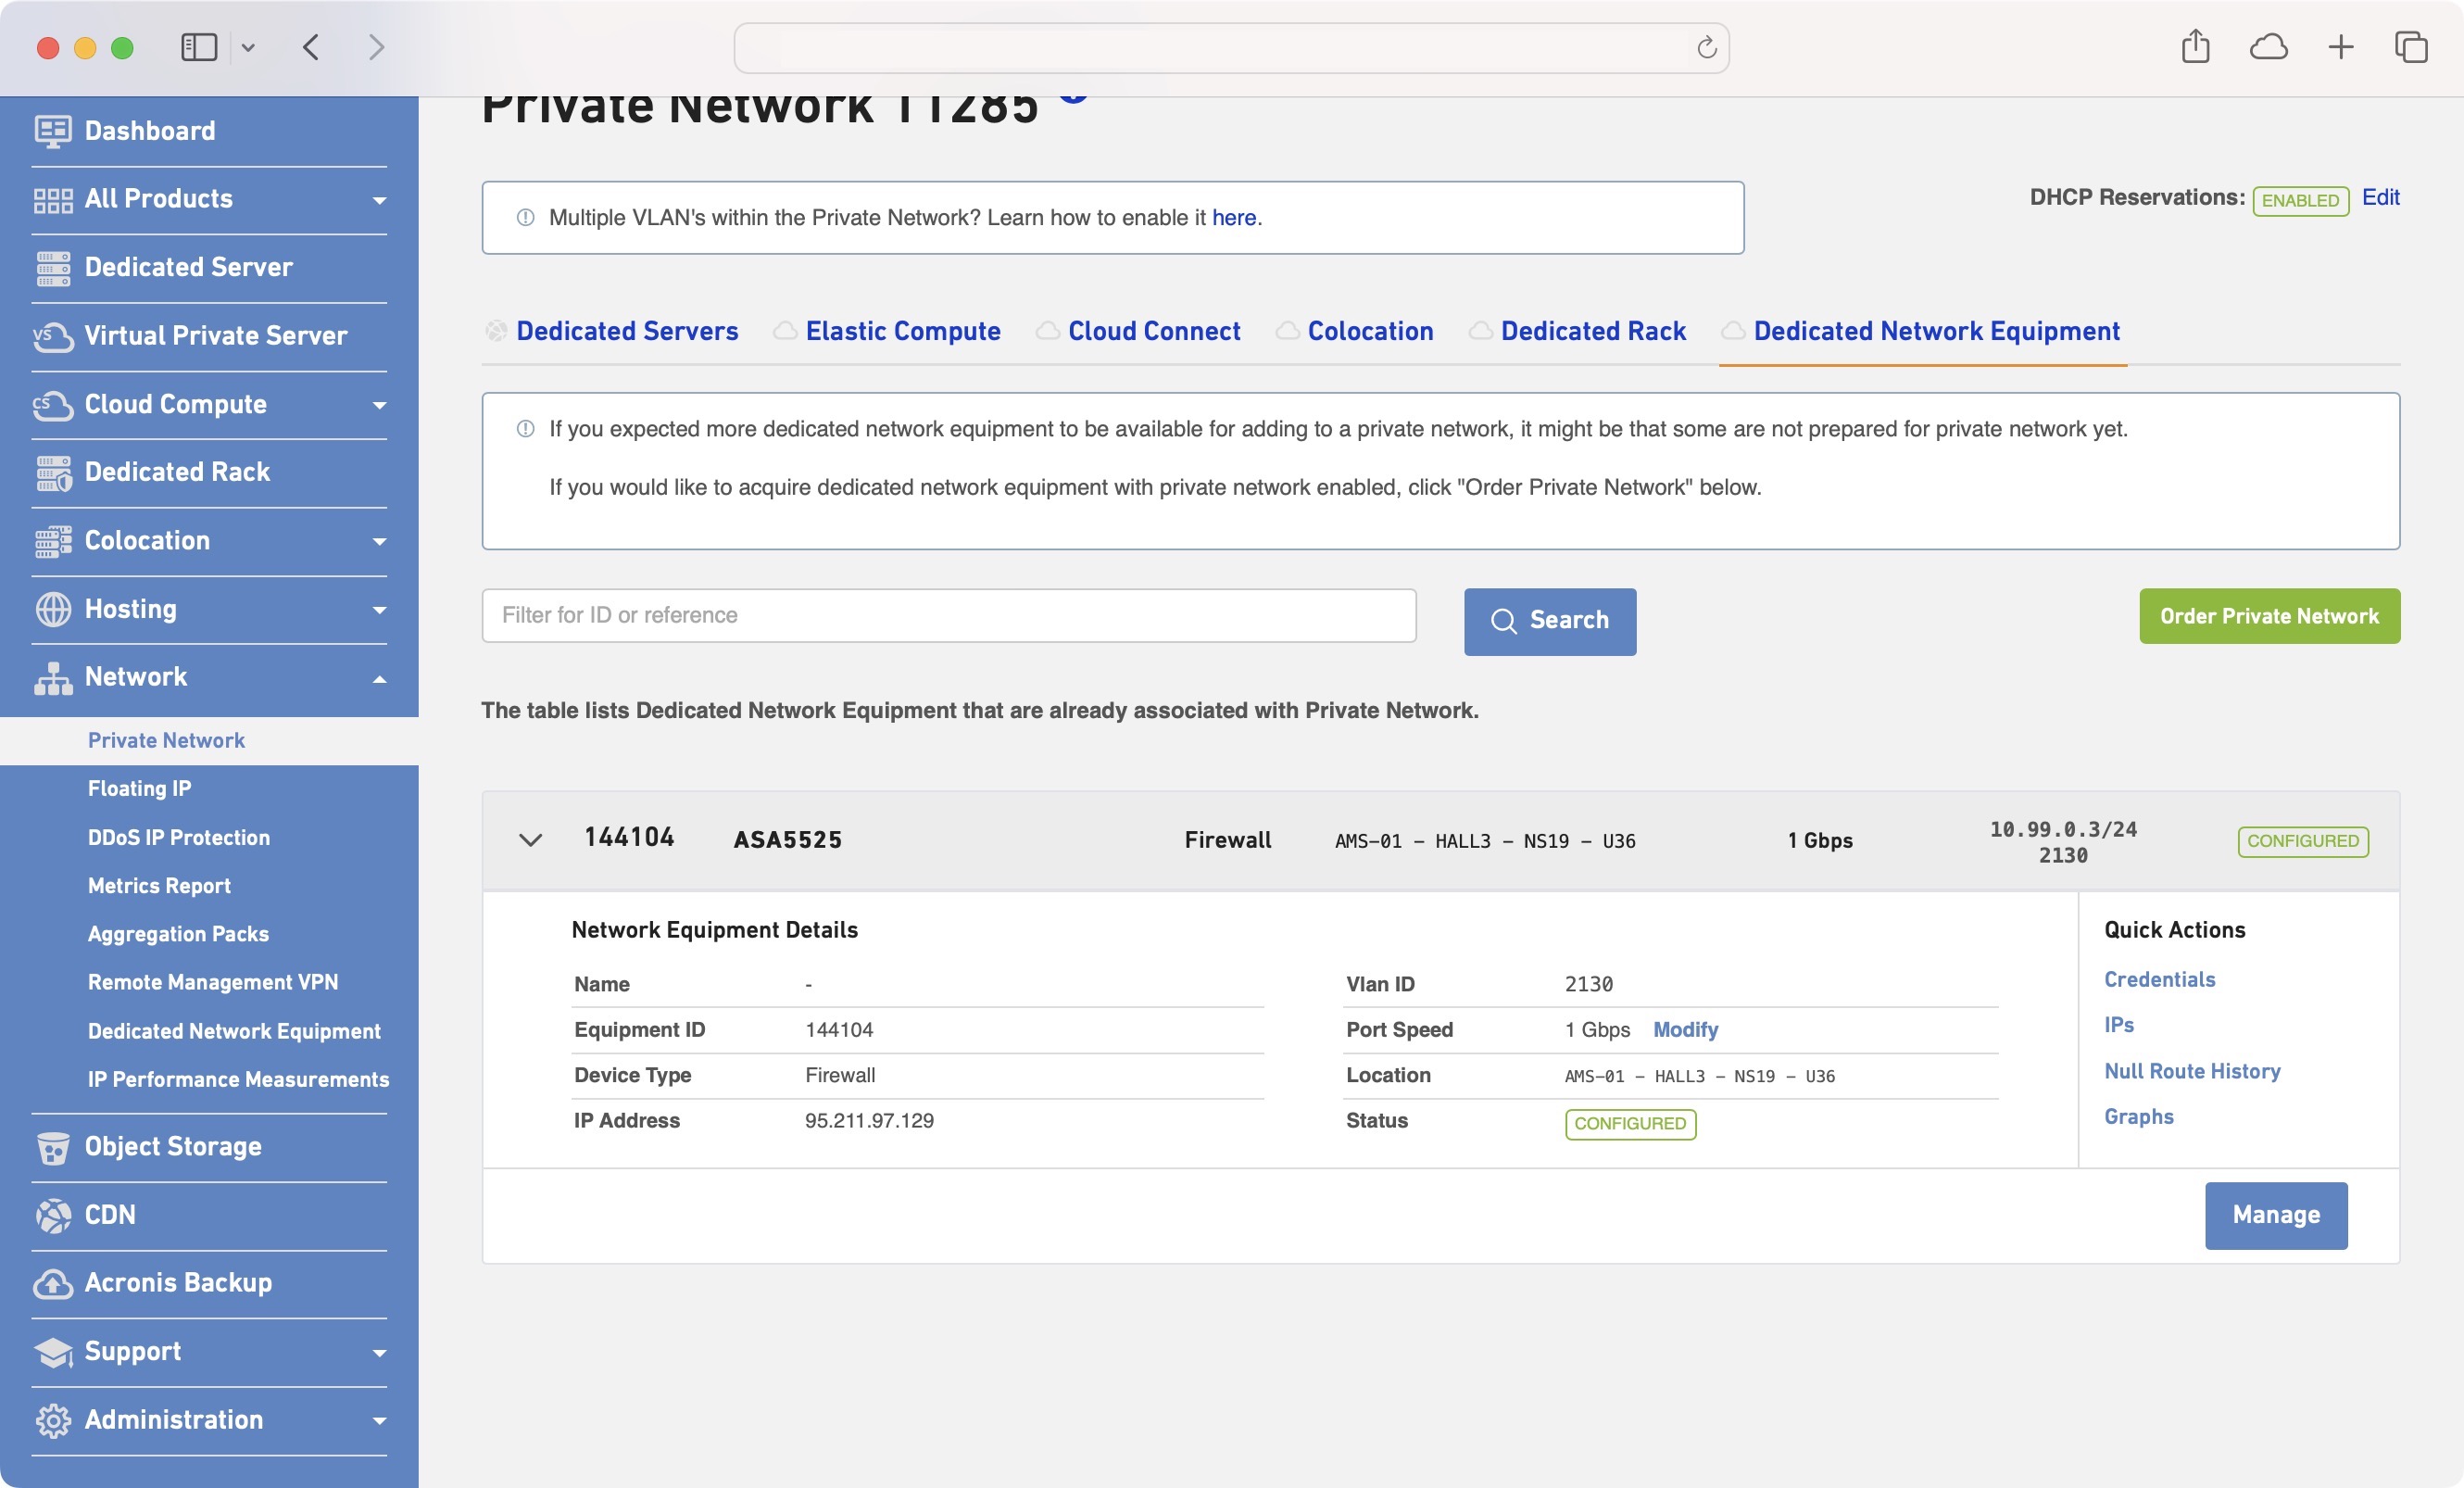
Once the Network Equipment has been successfully added to the Private Network, the status will be reflected in two places → In both the Private Network and the Dedicated Network Equipment pages.
In the Dedicated Network Equipment menu there is a Private Network hyperlink which will navigate you to the Private Network Overview page.
In the Technical Details section, the Private Network service will have a status Active when it is Enabled or ‘Not Available’ when the service is not active.
Actions
The following actions are possible for Network Equipment in a Private Network.
Upgrade / Downgrade
In each line of the Private Network the current port speed is shown.
It is also possible to upgrade or downgrade your private network port speed to 100Mbps / 1Gbps. The upgrade will cost an additional fee per month. To upgrade or downgrade your port speed click the “Modify” link. A pop up will show up in which you can choose the desired port speed. The speed will be adjusted immediately, and a success dialogue box will appear.
The fee for the upgrade you have selected will appear on your next invoice.
Order a Private Network enabled Firewall or Load Balancer
Private Network for your Network Equipment can be ordered in two ways:
- Using the Customer Portal.
- Contacting our Sales Department directly.
To order it from the Customer Portal, perform the following steps:
- Navigate to the Private Network Overview page.
- Click on the Dedicated Network Equipment tab.
- Click the green Order Private Network button.
- An Order Form will display. You can now choose the following:
Using your Firewall or Load Balancer
This section describes how to use the Customer Portal to get access to your Firewall or Load Balancer and how to configure it.
Access the management interface
There are two ways to connect to the Management Interface of a Network Equipment. Both ways require you to be connected to the Leaseweb Remote Management network as described here.
- Through the Customer Portal by clicking on the link displayed under the Management Interface field name (under the Technical Details section), which redirects to the Graphical User Interface of the Firewall.

- Via SSH against the Remote Management IP address
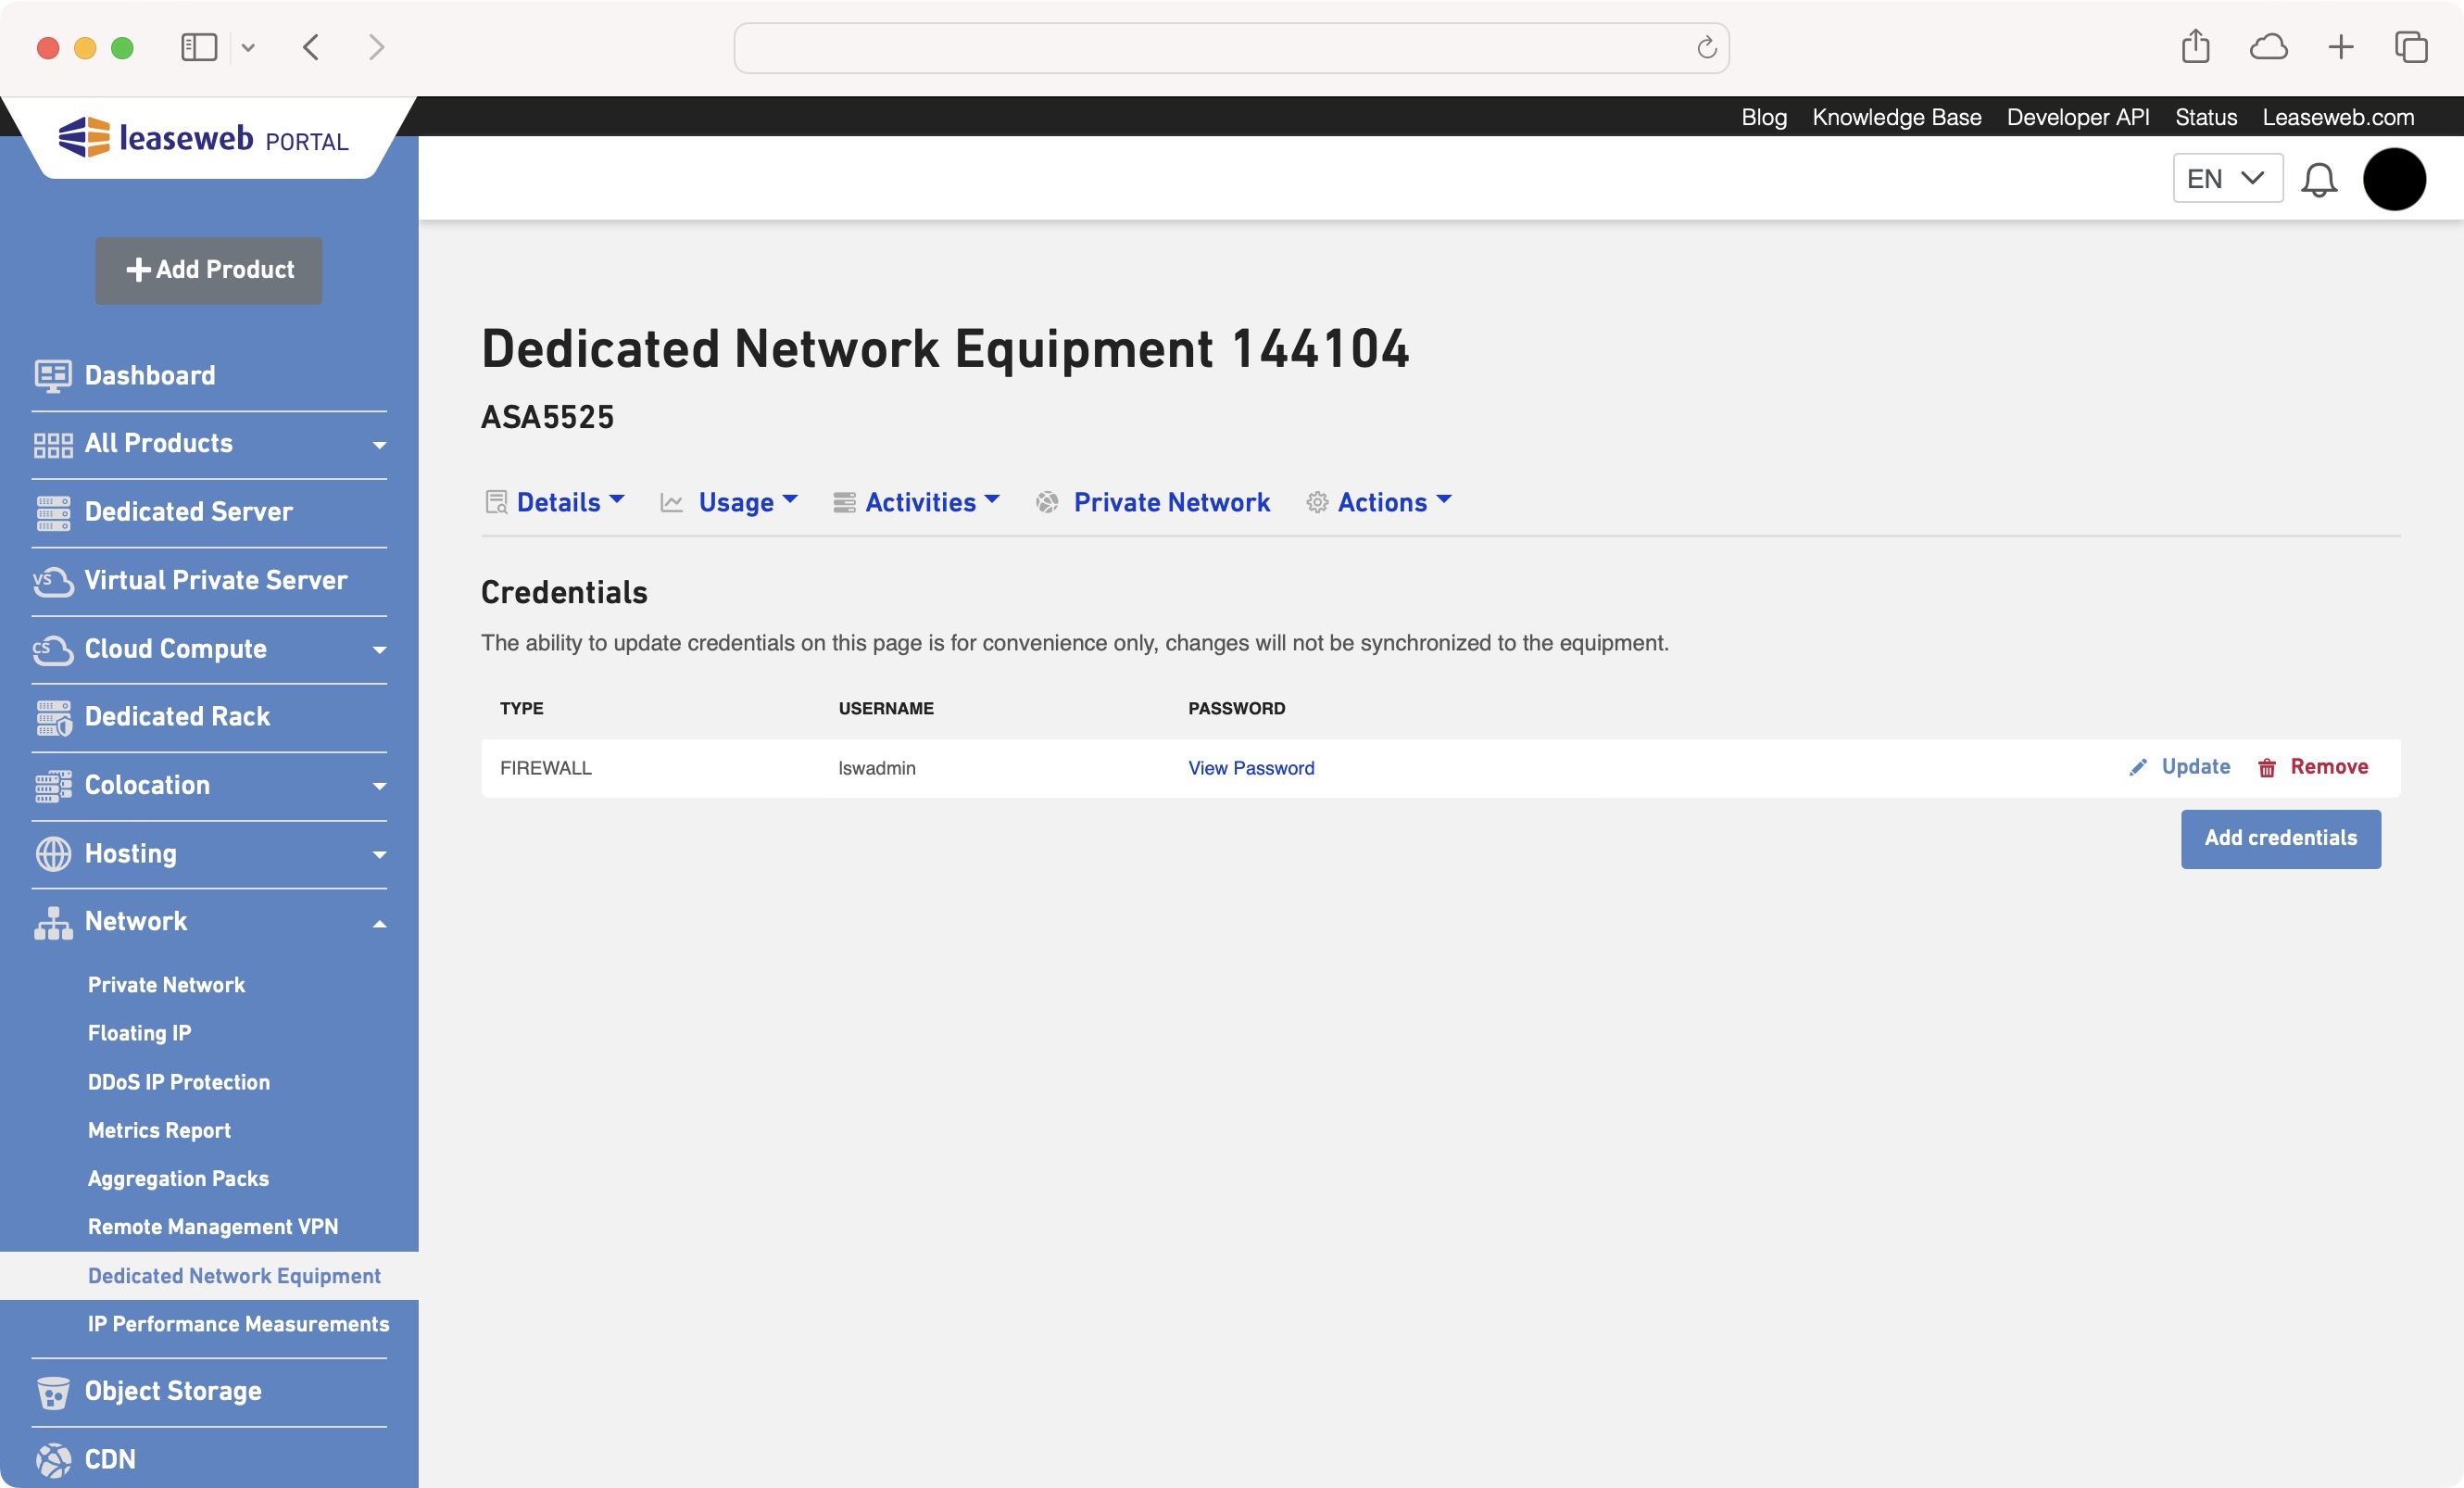
The username and password for the Firewall and Load Balancer can be found on the Credentials page.
Example configuration of a Firewall
The most basic configuration of a Firewall has a few things setup:
- A administrative username/password has been configured and the credentials can be found in the Customer Portal
- interface GigabitEthernet0/0 is connected to the Internet and configured with a static public IP.
- interface GigabitEthernet0/1 is connected to the Private Network and configured with DHCP
- interface Management0/0 is connected to Leaseweb Remote Management and configured with DHCP.
- The Cisco https and ssh management services are enabled only for interface Management0/0
Here are some relevant snippets of configuration for a Cisco ASA5525 Firewall:
hostname my-firewall
!
interface GigabitEthernet0/0
 nameif outside
 security-level 0
 ip address 95.211.97.129 255.255.255.192
!
interface GigabitEthernet0/1
 nameif inside
 security-level 100
 ip address dhcp
!
interface Management0/0
 management-only
 nameif management
 security-level 0
 ip address dhcp setroute
!
route outside 0.0.0.0 0.0.0.0 95.211.97.190 1
http server enable
http 0.0.0.0 0.0.0.0 management
ssh 0.0.0.0 0.0.0.0 management
!
To see the IP address that was handed out by DHCP on the Private Network, run the following command:
show ip address GigabitEthernet0/1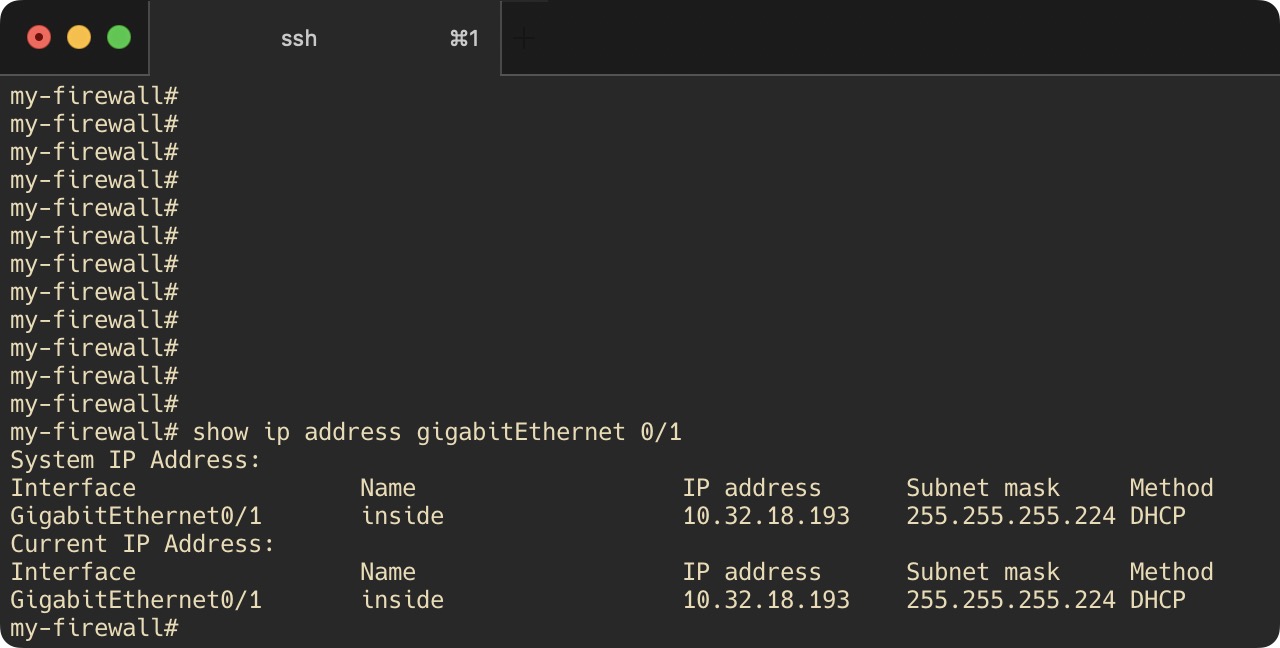
You are not required to use DHCP in the Private Network if you do not want to. You can disable it from the Private Network detail page in the Customer Portal.
With DHCP disabled, you are free to use any RFC 1918 private IP space as you please. You can either configure static IPs on all the equipment in your Private Network or run your own DHCP server.
Please note that if you use both static IPs and DHCP offered IPs from the same subnet, conflicts might occur.
NAT a Floating IP to a Dedicated Server in the Private Network
Leaseweb recommends using Floating IPs if you need additional public IP addresses.
This section explains how to configure a NAT to your dedicated server on your Private Network using a Floating IP.
Define an object (webserver) that points to the Private Network IP of your Dedicated Server (10.32.18.200)
object network webserver
 host 10.32.18.200
Define an object (webserver-flip) for your Floating IP (89.149.192.5)
object network webserver-flip
 host 89.149.192.5
Define a static NAT rule using those objects
object network webserver
 nat (inside,outside) static webserver-flip
Setup rules using an access-list (outside_in) to expose services running on webserver to the outside world. In this example, ssh (22/tcp), www (80/tcp) and https (443/tcp) services will be exposed.
access-list outside_in extended permit tcp any object webserver eq ssh
access-list outside_in extended permit tcp any object webserver eq www
access-list outside_in extended permit tcp any object webserver eq https
Apply the access-list (outside_in) to the public interface (outside):
access-group outside_in in interface outsideWhen users visit https://89.149.192.5, the traffic will go via the Firewall, through Private Network to the Dedicated Server with internal IP address 10.32.18.200
Setup NAT for outgoing traffic
This step is required prior to the Set the default gateway of your Dedicated Server to the firewall step if you have any equipment without associated NAT rules.
object network private_network
 subnet 10.0.0.0 255.0.0.0
object network private_network
 nat (inside,outside) dynamic interface
Set the default gateway of your Dedicated Server to the firewall
The procedure to do this varies per operating system. In this example we assume a RHEL based OS such as Rocky Linux 9 and changing network settings is done on the fly using the “ip” command provided by the iproute2 package.
Changing the default gateway may result in a disconnection of the current SSH session. The safest way to change the gateway is by connecting to your Dedicated Server via Remote Management.
ip route replace default via 10.32.18.193 dev eno1In the above example, the IP address 10.32.18.193 is the IP of the GigabitEthernet0/1 interface on the Firewall and eno1 is the name of ethernet interface connected to Private Network on the Dedicated Server.
Disable public connectivity by closing the public switch port
Once you change the default gateway of the dedicated server, all traffic destined for the internet should flow through the firewall to the outside world. Now you can close the public switch port according to the following article.
Another option is to shut down the public interface from the Operating System. The following example assumes a linux OS using the ip-route2 “ip” command:
ip link set dev eno0 down