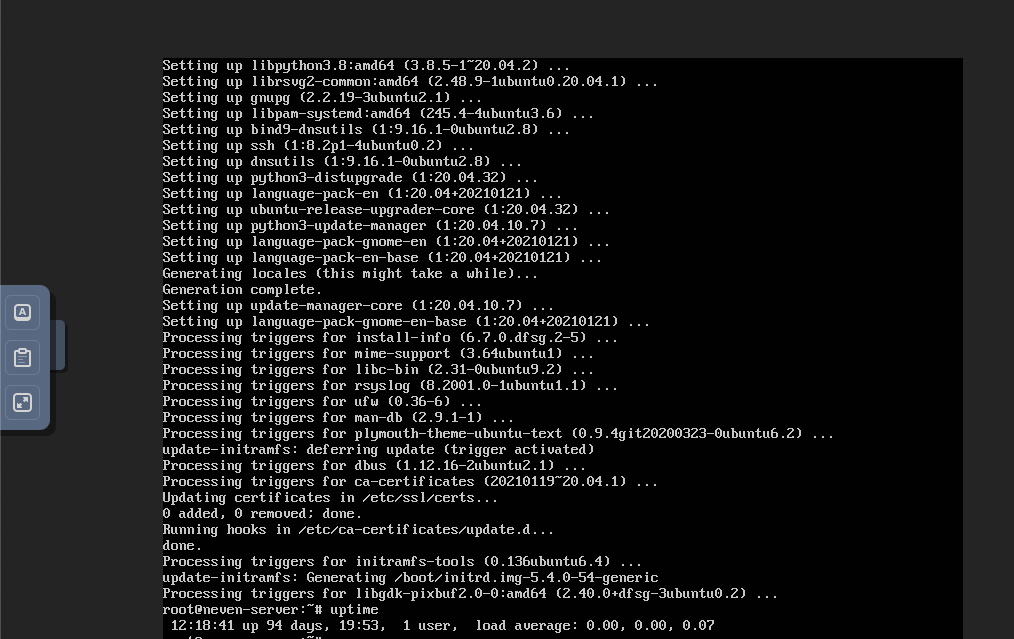
The remote console works as a “virtual terminal”, almost like a computer monitor (screen) attached to a server which you can use to interact with your operating system along with your keyboard and mouse. Once your instance is delivered to you, you will probably use the console as your first interaction point. For example, you can use it to install (and/or configure) your preferred remote access method (such as SSH or RDP, which offers far more features than the remote console).
The remote console is also helpful when for any reason you are no longer capable of accessing the server through other methods.
Overview of the Console
Here’s a quick overview of the screen and buttons on the console.

Information
There are additional actions within the side bar to send to the terminal, like copy paste a password or send ctrl+alt+del command.
| Field Name | Description |
|---|---|
| Show extra keys | Displays extra keys that can be send to the server using the terminal session. Buttons are Alt, Ctrl, Windows, Tab, Esc and ctrl+alt+del command. |
| Clipboard | After pressing it, you will be asked for an input (text). This input will be sent to the Operating System. It helps to avoid typing long and complex text, such as passwords or a long sentence. |
| Full screen | The Full screen button allows for the terminal window to be stretched to fill up the entire browser page. |
Accessing the VM Console
- To start the VM Console, login to the Customer Portal and choose VPS.
- Click on a VPS and click on Manage VPS, to go to the management page.
- On the Overview page, click Launch Console.
The console starts automatically and will prompt you to enter the credentials to gain assess to the VPS over the terminal session.