This instruction guides you on how to open an iDrac 6 console.
Information
Before you can open an iDrac 6 console, you need to have the latest version of Java installed. How to install Java can be found via this link. Also, you need to whitelist your server IP address in Java. A detailed guide for how to do this can be found via this link.
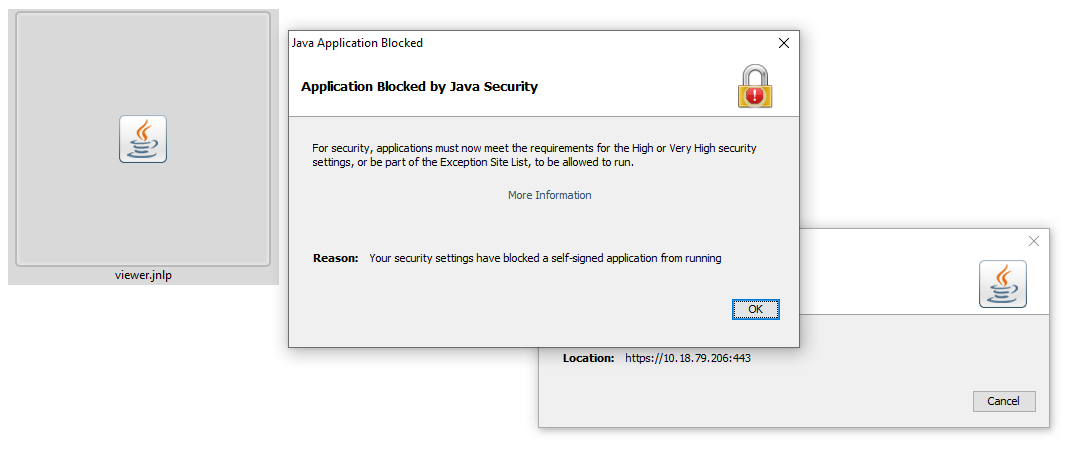
If Java is not properly installed, you will see the error below when opening the console. Please note that for the best performance and experience in iDrac 6, Java version 7 or lower is recommended. If this is all done, you can start with this instruction.
- Log in to the Customer Portal. Under Dedicated Server, you will find your list of servers
- Click on the ID to see the server details
- Click on Remote Management from the Actions drop-down list.
- Log in to the web interface with your username and password
- Click Launch

- This will download a file that you need to rename to [your-server-IP address].jnlp. This will automatically change the file to a Java file
- Now you can open the file. If you do not have your server’s IP address whitelisted, you will now get an error.
- Please read this guide on how to whitelist an IP in Java before you continue
- Otherwise, you will get the following screen, where you need to check the “I accept the risk and want to run this application” box and then click Run

- You now see your server’s screen and can remotely manage your server


Alternate Method to Access the iDRAC 6 Console (Outside of Browser)
If the above instructions do not work, especially if you have an older Dell server, check out the following process for a higher chance of success:
- Create a folder on your C:\ drive named “iDRAC Virtual Console Launcher”
- Download JAVA version 1.7.0_80 JRE Server x64 from Oracle’s website – Login is required
- Unzip the contents of the server-jre-7u80-windows-x64.tar.gz file in another directory – not inside the folder you created in step one
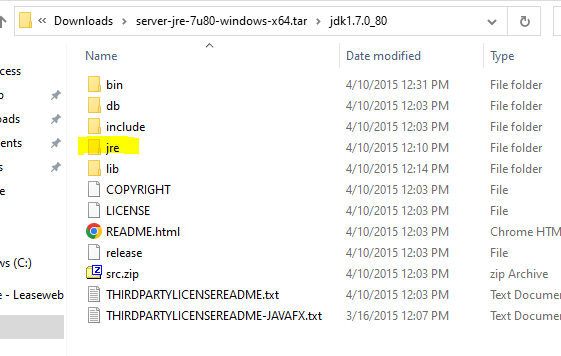
- This is what the contents of the server-jre-7u80-windows-x64.tar.gz file should look like
- Copy the “jre” folder and place it at the root of your new folder, not inside the “lib” folder.
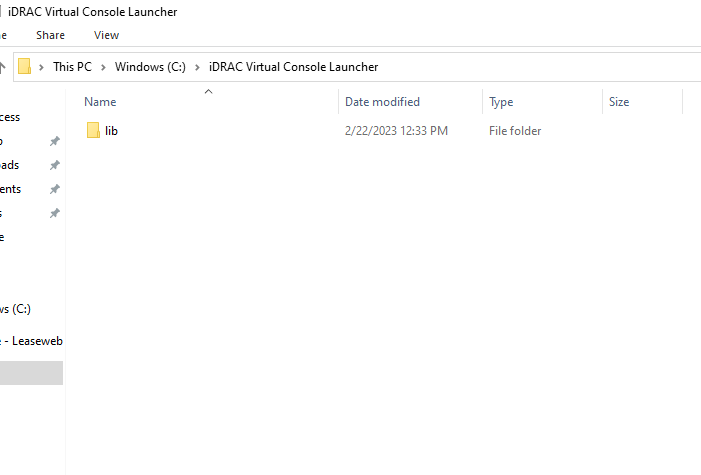
- The contents of the folder you created in step one should look like this:
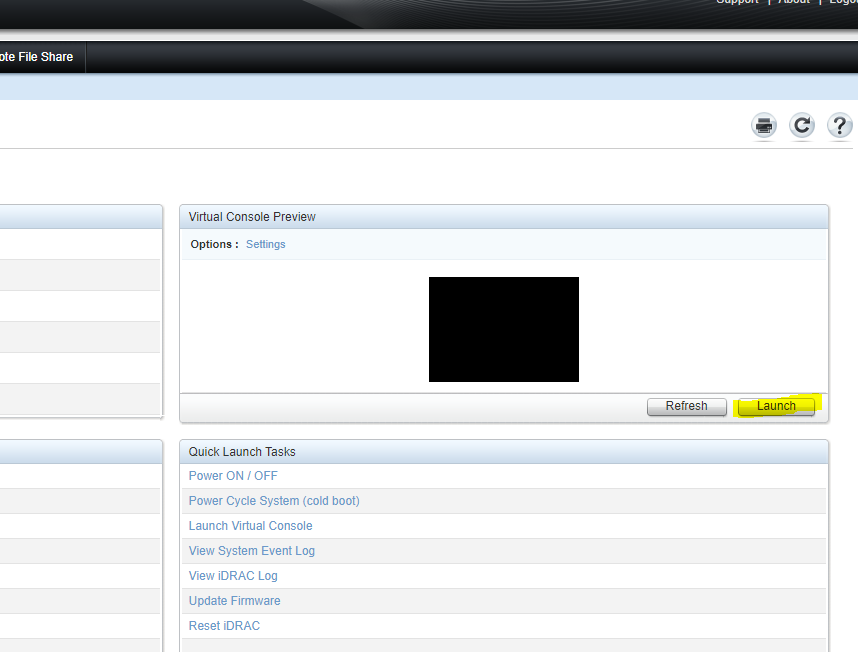
- Next, load the iDRAC of a server that runs iDRAC 6, log in and attempt to launch the console:
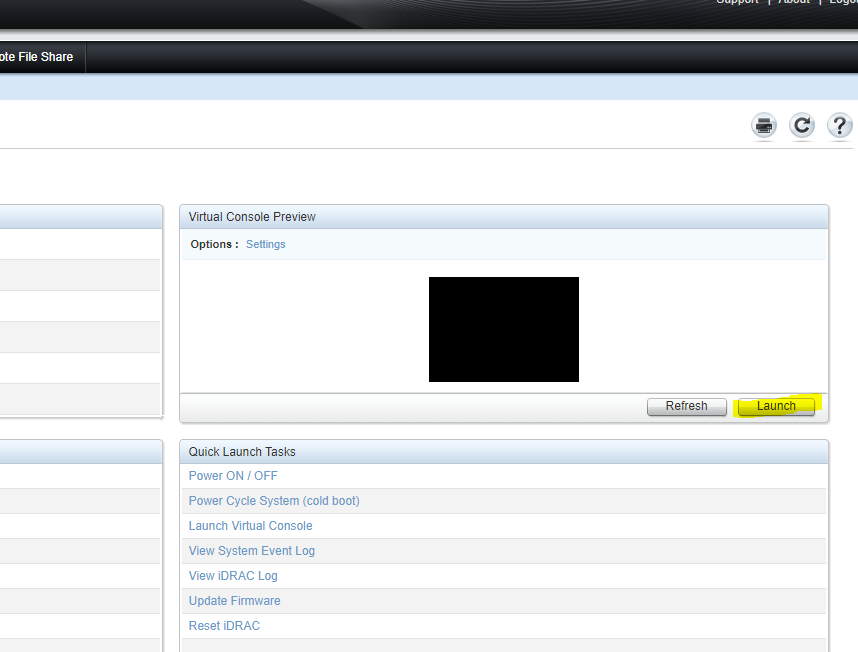
- Upon pressing the launch button above, it will initiate a download of a file like so:
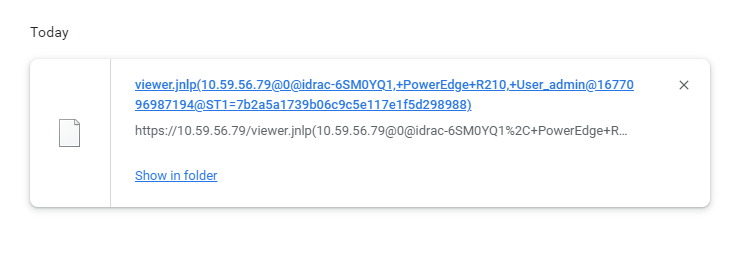
- Once the file finishes downloading, open it in a text editor of your choice
- You may need to temporarily change the file extension to .txt for the editor to open it. It should look something like this:
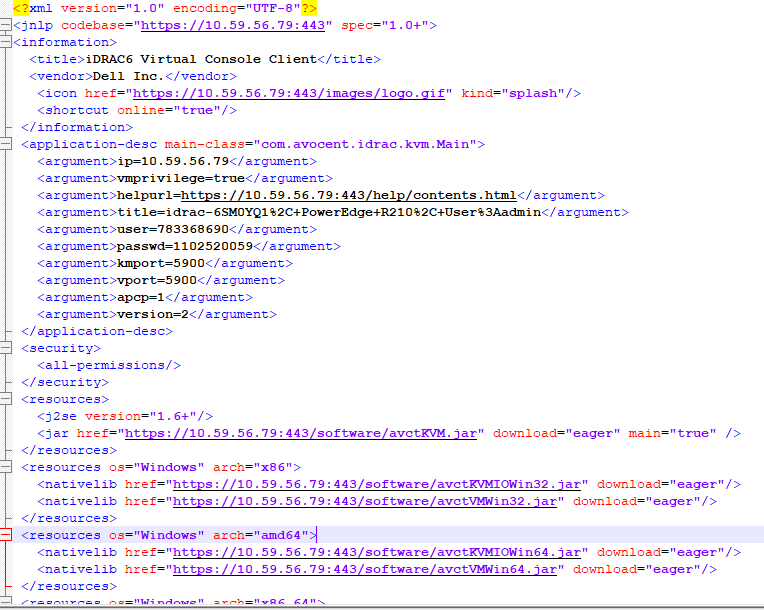
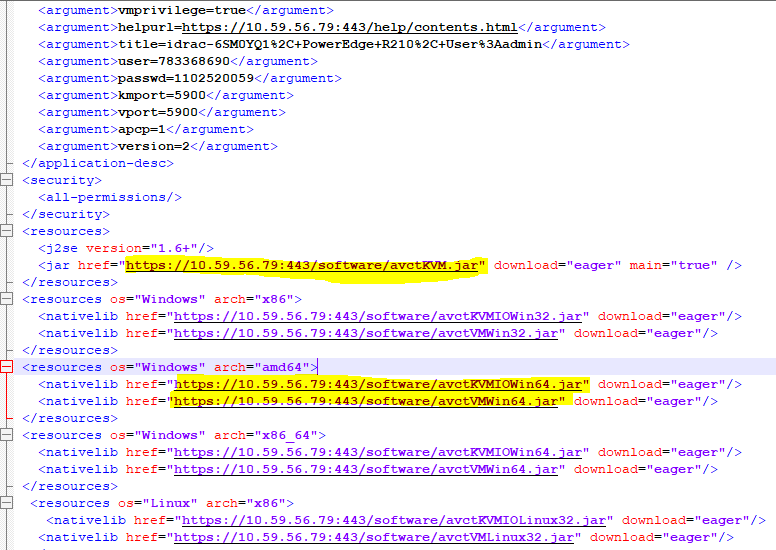
- If you scroll further down on this file, you will see the URLs of 3 files you need to download:
- avctKVM.jar – Copy the URL, download and place it inside the root of the folder you created in step one
- avctKVMIOWin64.jar – Copy the URL and download and place it inside the “lib” folder
- avctVMWin64.jar – Copy the URL and download and place it inside the “lib” folder
- The contents of the folder you created in step one should look like this:
- C:\iDRAC Virtual Console Launcher
- C:\iDRAC Virtual Console Launcher/jre
- C:\iDRAC Virtual Console Launcher/lib
- C:\iDRAC Virtual Console Launcher/lib/avctKVMIOWin64.jar
- C:\iDRAC Virtual Console Launcher/lib/avctVMWin64.jar
- C:\iDRAC Virtual Console Launcher/avctKVM.jar
- Next, create a Windows Batch File with the code below; name it “iDRAC Launcher.bat” and save it in the root of the new folder you just created in step one above
- C:\iDRAC Virtual Console Launcher\iDRAC Launcher.bat
- Insert the following text into this batch file:
@echo off

set /P drachost="Host: "
set /p dracuser="Username: "
set "psCommand=powershell -Command "$pword = read-host 'Enter Password' -AsSecureString ; ^
    $BSTR=[System.Runtime.InteropServices.Marshal]::SecureStringToBSTR($pword); ^
        [System.Runtime.InteropServices.Marshal]::PtrToStringAuto($BSTR)""
for /f "usebackq delims=" %%p in (`%psCommand%`) do set dracpwd=%%p

.\jre\bin\java -cp avctKVM.jar -Djava.library.path=.\lib com.avocent.idrac.kvm.Main ip=%drachost% kmport=5900 vport=5900 user=%dracuser% passwd=%dracpwd% apcp=1 version=2 vmprivilege=true "helpurl=https://%drachost%:443/help/contents.html"- Next, double-click on the “iDRAC Launcher.bat” file, and you should see a Windows command prompt pop-up
- It will ask you for the Host, Username and Password of the RM you want to connect to

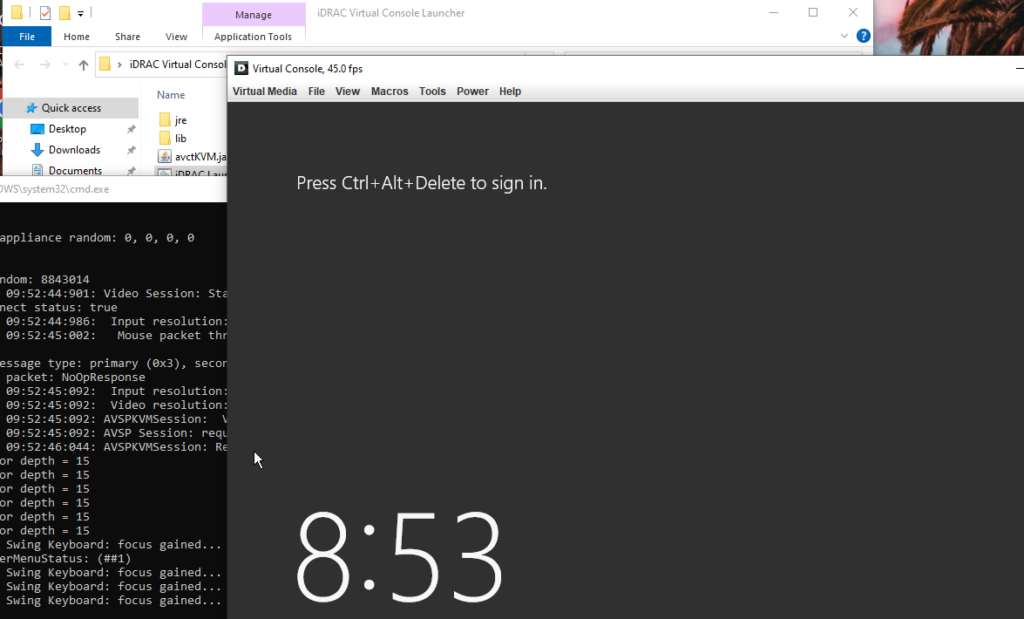
- After you enter the Host, Username and Password, hit enter, and it should connect you to the console of the server. It will look like this:
Tip
If you want to connect to another iDRAC6 server in the future, you do not have to repeat these steps. If you keep this folder and all the files in it, just double-click on the “iDRAC Launcher.bat” and enter the RM’s information.


